Pixel stretch without Photoshop
By Emre Ertunc · Published June 21, 2026 · Updated August 7, 2026 · 4 min read
Almost every pixel stretch tutorial online assumes you own Photoshop and know your way around it. You don't need either. Here's the full manual method, then the much shorter mobile app version that runs on your phone.
Can you make the pixel stretch effect without Photoshop?
Yes. The effect is one strip of color stretched across a photo, and nothing about it belongs to Photoshop. Pixel Stretch Pro does the same job on iPhone and Android in four moves: place a sampling bar, pull the ribbon out, bend it with control points, then save a high-resolution copy.
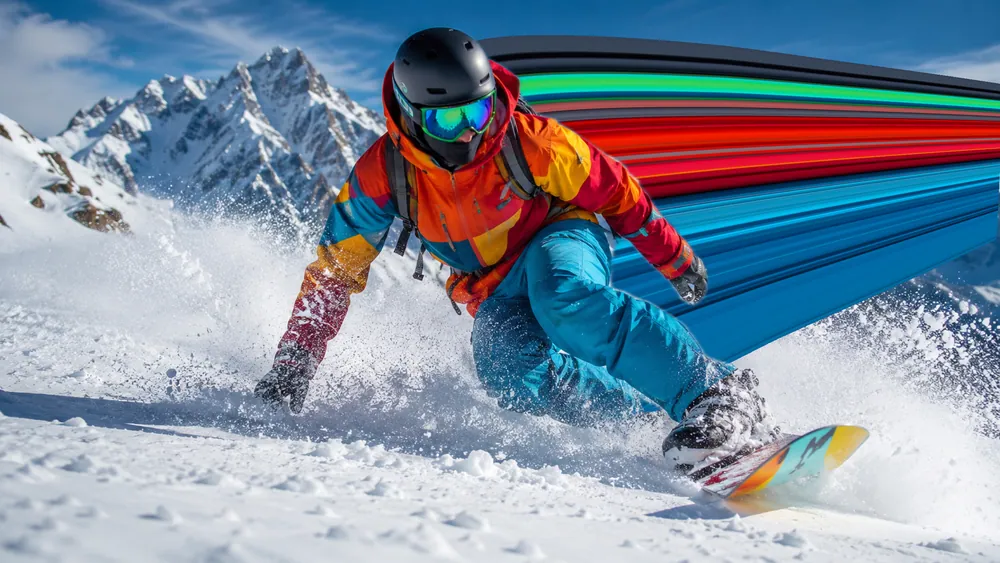
The pixel stretch effect started life as a Photoshop trick, so that's where most guides point you. But the technique itself — stretch a strip of color across a photo — has nothing to do with any one program. Written out below, the manual route runs to roughly six steps; a purpose-built app collapses the same result into four gestures.
The Photoshop way (the long version)
Done by hand in Photoshop, a clean pixel stretch usually goes something like this:
- Select your subject and copy it to its own layer so it can sit in front of the stretch later.
- Make a very thin rectangular selection along the subject's edge, where the colors you want live.
- Duplicate that strip onto a new layer.
- Hit Free Transform (Ctrl/Cmd+T) and drag the strip out toward the edge of the frame.
- Switch to Warp mode and push the anchor points to curve and twist the band.
- Mask, dodge and burn to blend the stretch back into the photo.
It works, and a skilled retoucher can get great results this way. But it's a desktop job with at least half a dozen steps, and every time you want a different curve you're back in Warp, nudging anchor points one by one.
The bottleneck isn't the idea — it's the tooling. Selections, layers, and Free Transform are general-purpose tools doing a very specific job.
The app way (the short version)
Pixel Stretch Pro collapses all of that into one screen on your phone. There are no layers and no selections to manage:
- Slide a bar over the colors you want to stretch.
- Drag an arrow to pull the stretch into a curve.
- Bend it with control points and taper the end.
- Save a high-resolution copy.
When Smart Subject can create a usable mask, the color trails behind the person or object automatically, the part that takes masking and patience in Photoshop. The full iPhone and Android walkthrough is in How to make the pixel stretch effect.
What about CapCut, Picsart, or Pixlr?
You'll find people coaxing a stretch out of general editors like CapCut, Picsart, or Pixlr. Their warp and liquify tools are real features, but they work on the pixels already in the photo instead of repeating a strip you picked, so the curve is hard to steer. A dedicated tool gives you the one thing those apps don't: a drawable, editable stretch path. We compare all of them here.
Which should you use?
- Already a Photoshop pro and want pixel-level control? Stick with Photoshop and Warp.
- Want a clean result in a minute on your phone? Use a dedicated pixel stretch app.
- Posting to Instagram or TikTok? The app exports a high-resolution copy straight to your camera roll or gallery.
Frequently asked
Is the app result as good as Photoshop?
For this effect, the dedicated controls make it quick to get a clean result. Photoshop offers more manual masking and pixel-level retouching when you need that extra control.
Does Photoshop have a pixel stretch tool?
No. There is no pixel stretch button in Photoshop. The look is a manual technique: a single row or column marquee selection, that strip copied to its own layer, then Free Transform to drag it out and Warp to bend it. The guides you'll find are almost all describing that same sequence.
Do you need a computer for the pixel stretch effect?
Not any more. The technique grew up on desktop, where Photoshop is what most tutorials assume, but a phone screen is arguably better suited to it: you drag the curve with your thumb instead of nudging Warp anchor points with a mouse.
How many steps does the app save over the Photoshop method?
The manual Photoshop route runs to roughly six steps with selections, layers, Free Transform, Warp, and masking. Pixel Stretch Pro reduces it to four gestures on one screen, and changing your mind about the curve costs a drag rather than a return trip through Warp.